
The short answer to “how do you build a deck?” is: plan it carefully, get the right permits, frame it solid, and finish it with quality materials. But there’s quite a bit that happens between those steps, and the details matter a lot.
This article walks you through the whole process, from your first sketch to laying the last decking board. You’ll also get some honest talk about when this is a good DIY project and when it might be smarter to call a pro.
Step 1: Plan Your Deck
The most common mistake homeowners make is picking up a circular saw before they’ve settled on a design.
Start with a simple drawing. Sketch the shape of the deck, where the door from the house leads out to it, where a fence or shed sits, and how the yard drains after rain.
Think about how you’ll actually use the space. A deck meant for summer dining needs room for a table and chairs. If you want a spot to grill or lounge, that changes the layout entirely.
A classic rectangular shape works well for most homes and is the most straightforward to frame.
Once you have the general shape and size in square feet, you have what you need to move forward with permits, material lists, and footing layout.
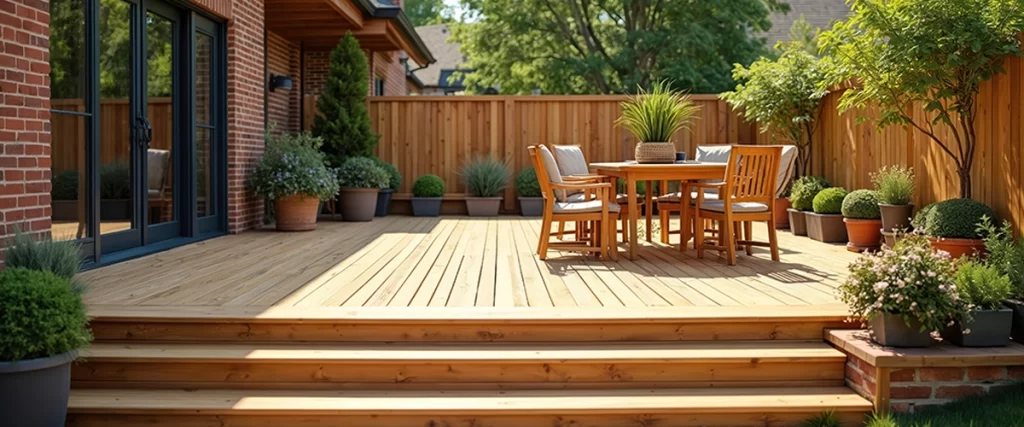
Step 2: Pull the Permits
In Indiana, a building permit is required for any deck that is 200 square feet or larger, or that sits 30 inches or more above grade.
Even for smaller decks attached to the house, most local jurisdictions require a permit due to the ledger board connection.
The Indiana Residential Code, administered by the Indiana Department of Homeland Security’s Division of Fire and Building Safety, sets the baseline standards.
Frost depth in central Indiana, including Westfield, Noblesville, and Carmel, typically ranges from 30 to 36 inches, so your footings need to reach that depth to prevent frost heave. Always confirm the exact requirement with your local building department before digging.
Skipping the permit can mean fines, forced removal, and real problems when you go to sell the home. It’s not a shortcut worth taking.
Step 3: Dig Footings and Set Posts
This is where the hard labor starts. Footing placement needs to be precise because everything above it depends on it. Use batter boards and mason’s string to lay out the corners, then check for square by measuring diagonally from corner to corner.
Dig holes below the frost line, then pour your concrete. Pour directly into undisturbed soil to prevent settling, and bell out the bottom of each hole to create a wider base that resists frost uplift.
While the concrete cures, set your post bases plumb so the posts can be installed true and level. A laser level makes this much easier, especially if your yard isn’t flat.
Posts should be pressure-treated lumber rated for ground contact.
Not all pressure-treated wood is the same. Ground contact-rated material is treated to a higher retention level, and using the wrong grade can lead to rot within a few years.
Step 4: Build the Deck Frame
The frame is what holds everything up. Here’s what goes into a standard deck frame:
- Ledger board — Bolted to the house with lag screws or structural screws, properly flashed, and covered with joist tape along the top edge. This is the most critical connection on the whole deck.
- Beams — Span between the posts and carry the load from the joists down to the footings.
- Joists — Run perpendicular to the decking boards, typically 16 inches on center.
- Joist hangers — Connect the joists to the ledger and rim joist. The American Wood Council’s DCA-6 Deck Construction Guide requires that all joist hangers be corrosion-resistant. Per the International Residential Code, the standard for use with pressure-treated lumber is G-185 zinc coating, sometimes sold under brand names such as ZMAX or Triple Zinc.
- Rim joist — The outer border that ties all the joist tails together and defines the deck’s perimeter.
Apply joist tape across the top edge of every joist before laying decking. It takes maybe an hour, but it can add years to the frame’s life by blocking moisture from sitting on the wood.
Step 5: Lay the Decking
Once the frame clears inspection, you’re ready to lay decking.
Start at the house side and work outward, keeping a consistent gap between boards, roughly 3/16 to 1/4 inch, for drainage and expansion.
Composite decking boards typically use hidden clip fasteners, providing a clean surface free of visible screws. If you’re using wood boards, face-screw them in pairs at each joist.
Either way, snap a chalk line every few rows to make sure your decking isn’t drifting out of parallel with the house.
When you reach the outer edge, the boards will overhang slightly. Snap a chalk line and trim with a circular saw for a clean, straight edge.
Step 6: Railings, Stairs, and Finishing Touches
In Indiana, guardrails are required when a deck is more than 30 inches above grade, with a minimum height of 36 inches.
Railing posts need to be bolted through the rim joist with backing blocks, not just surface-screwed, to handle lateral loads.
Balusters must be spaced so that a 4-inch sphere cannot pass between them.
Stairs need consistent riser height, no more than 8-1/4 inches per riser under Indiana’s current code, and a handrail on at least one side if there are four or more steps.
Fascia boards along the rim joist, any skirting panels, lighting, and built-in bench sections all come last.
These finishing touches are what turn a structure into a space people actually want to spend time in.

FAQ: How to Build A Deck
How long does it take to build a deck yourself?
A simple single-level deck can take two people one to three weeks to complete, depending on skill level. Permit approval timelines and weather add variability, so build in a buffer when planning your schedule.
Do I need a permit for a ground-level deck in Indiana?
Many municipalities allow a freestanding ground-level deck under 200 square feet and under 30 inches high without a formal permit, but rules vary by city and county. Always call your local building department before you break ground.
What is joist tape, and why does it matter?
Joist tape is applied along the top edge of each joist before the decking is installed. It seals the wood against moisture at the points where materials meet, which are the spots most vulnerable to rot over time. It’s a small step that experienced builders won’t skip.
What’s the difference between wood and composite decking boards?
Pressure-treated wood is budget-friendly but requires regular staining, sealing, and sanding to hold up over time. Composite decking is made from a blend of wood fiber and synthetic materials, making it far more resistant to moisture, fading, and splintering. Composite boards typically come with manufacturer warranties ranging from 25 to 50 years, depending on the product line.
How much does it cost to build a deck in Indiana?
Costs vary a lot by size, materials, and design complexity. A basic wood deck with a smaller footprint can cost $6,000 to $12,000 in materials and labor. Composite decks in Indiana commonly start around $12,000 and increase with size, railing style, and custom features.
What tools do I need to build a deck?
The core tools are a circular saw, a framing nailer, a drill, a tape measure, a chalk line, a laser level, a speed square, and joist hanger nails. You’ll also want corrosion-resistant screws and clamps. Renting a post-hole digger or auger is worth every dollar for the footing stage.
Let Someone Else Handle This One
Knowing how to build a deck and actually building one are two very different things. Between navigating permits, digging footings below the Indiana frost line, flashing a ledger board correctly, and making sure every joist hanger meets code, a lot can go wrong.
Our team at Decks on Point has built over 70 decks across Westfield, Carmel, Noblesville, and the surrounding Indiana communities. We handle the design, permits, frame, and finish, and they back every build with a 5-year workmanship warranty.
Call us at (317) 903-2431 or message us here to get a free estimate and see what your outdoor space could look like.